
Quick answer
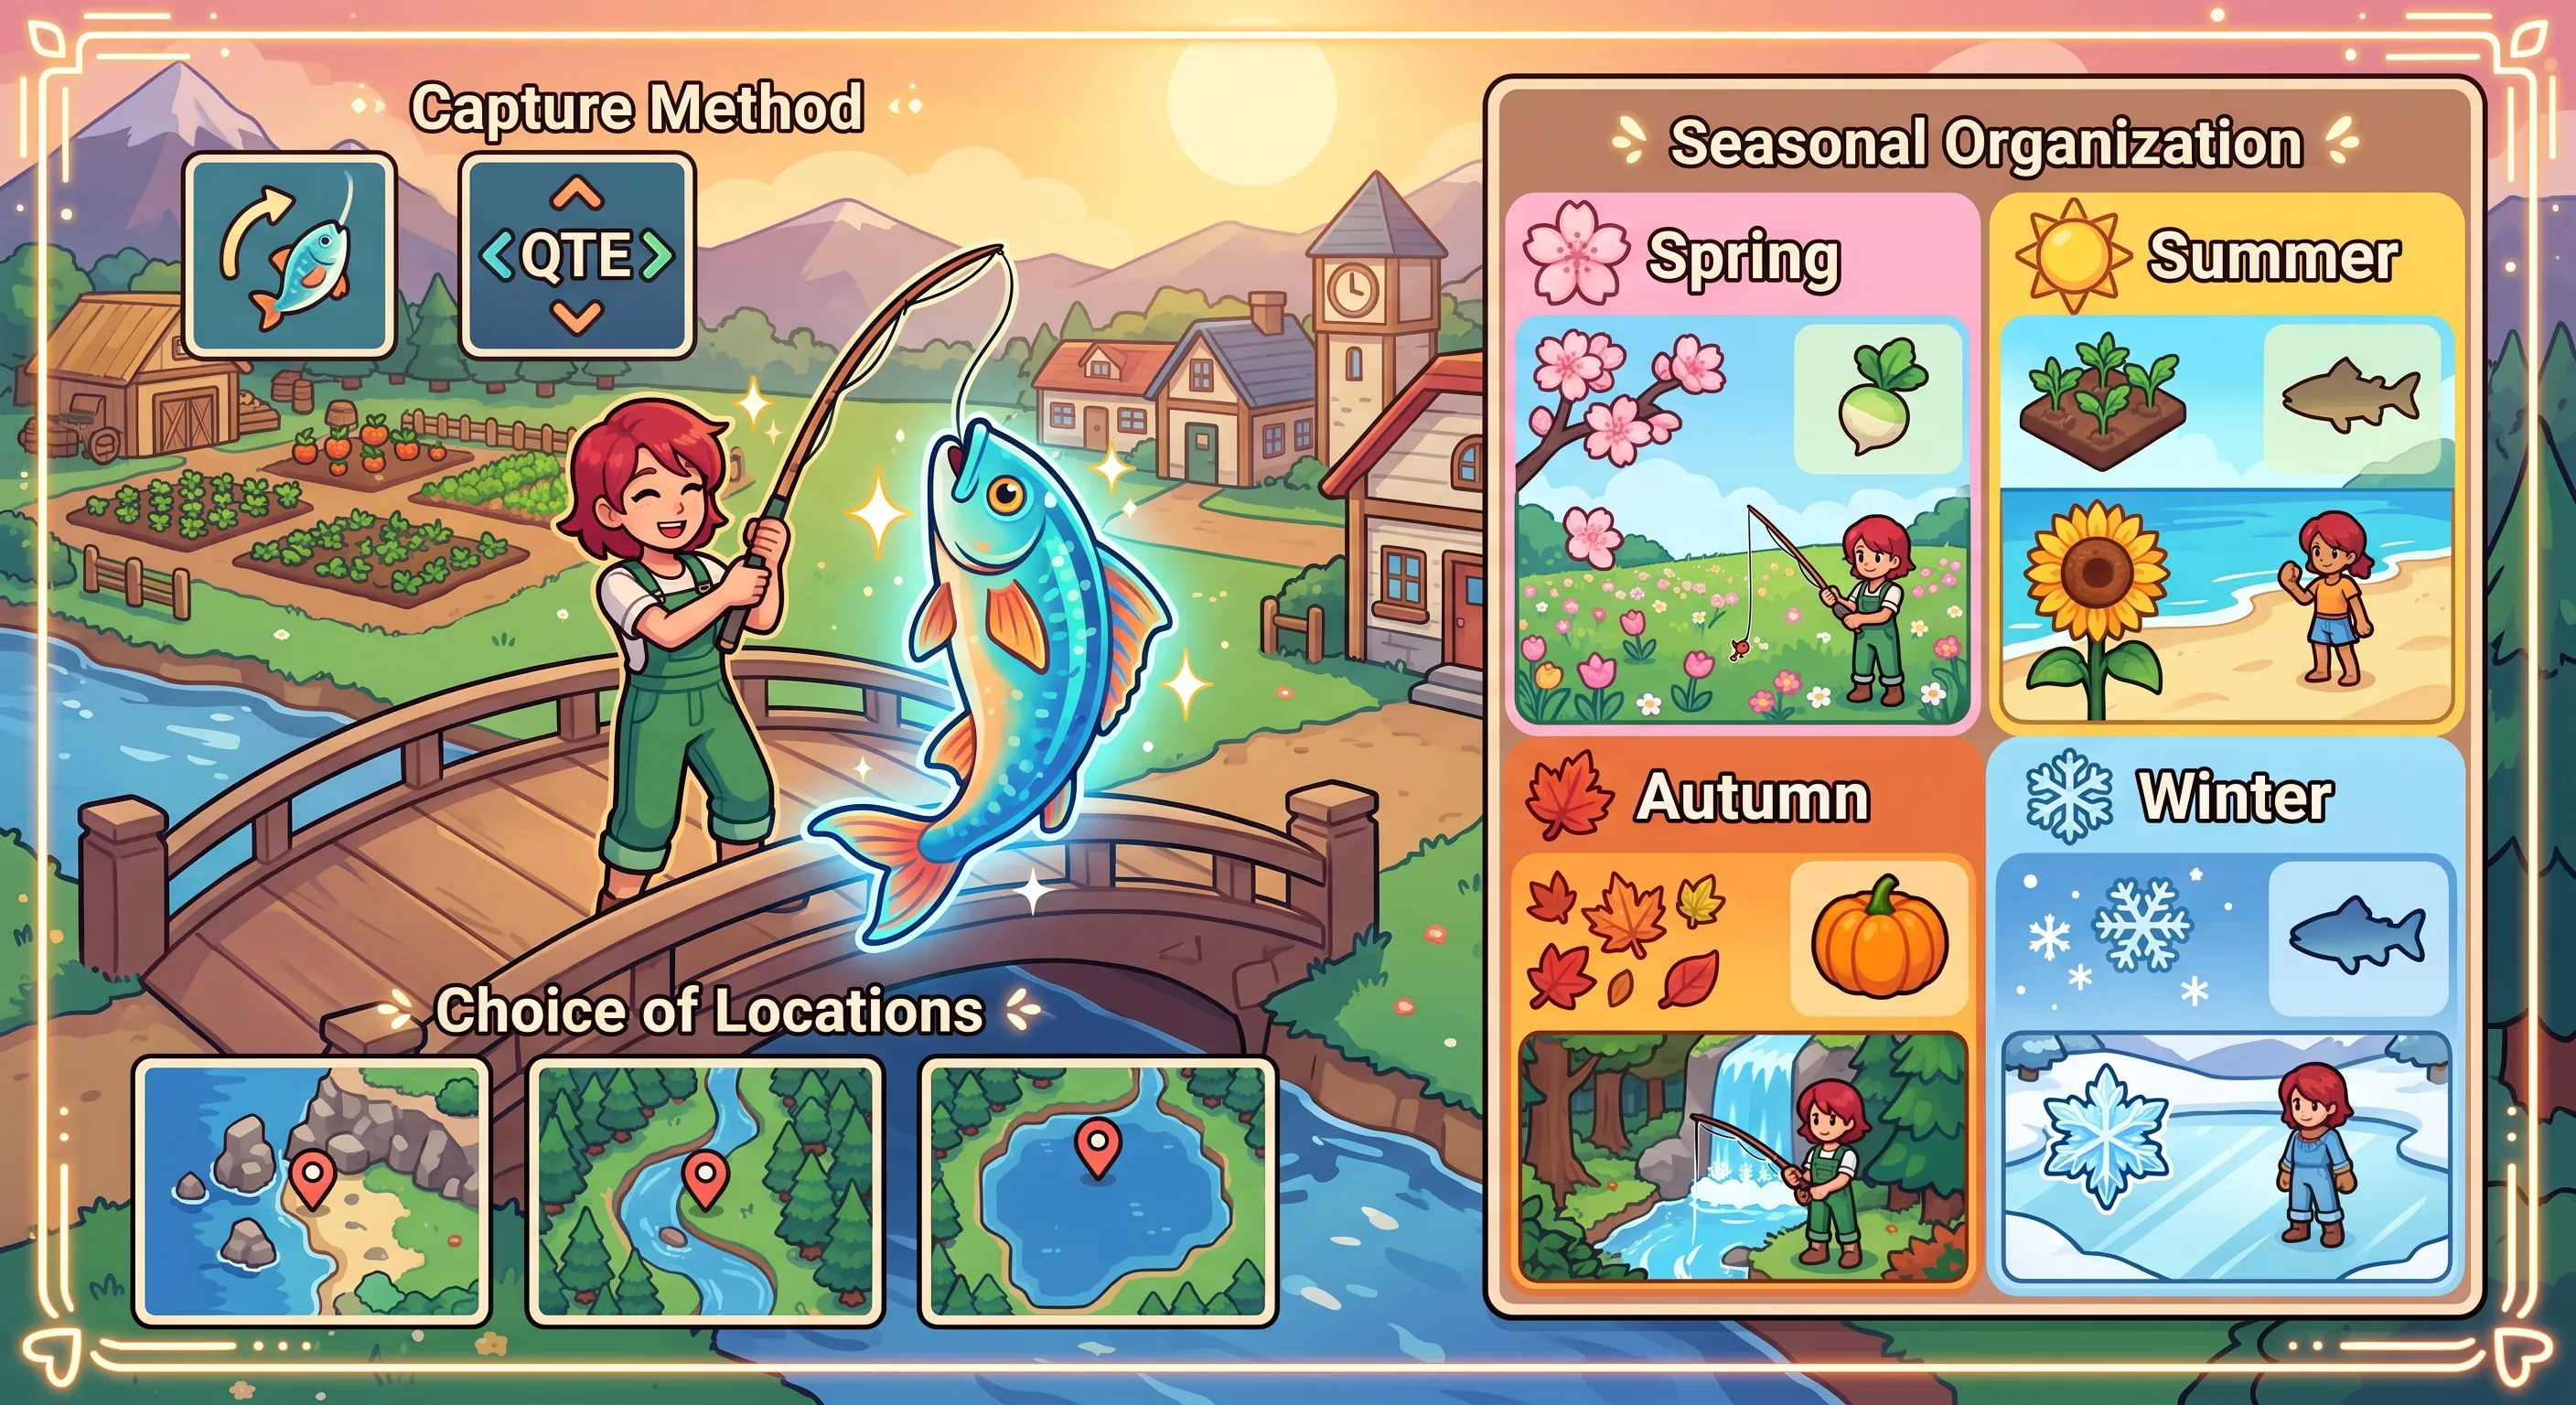
To catch more fish in Fields of Mistria, cast near a visible fish, wait for the ! bite prompt, and press the Tool button immediately to reel it in. The bigger improvement comes from planning the catch before you spend the day fishing: different fish are tied to locations, seasons, weather, shadow sizes, bait, or diving spots. Use the Museum to decide what you need, then travel to the matching water instead of casting randomly.
The Official 1.0 patch notes confirm that the Museum can now be completed, making that planning more useful in the full release. This guide focuses on the practical fishing loop and the decisions that save the most in-game time.
How fishing works in Fields of Mistria
You need a Fishing Rod, then you can cast in most bodies of water around Mistria. The notable exception is the fountain in the centre of town. Hold the default Tool button to charge the cast, release it to send out the bobber, and aim close to the fish rather than wasting casts at the edge of the water.
The fish will nibble several times. Do not reel in on the first movement. Wait for the ! bubble, then press the Tool button again. If you hesitate after the bite, the fish escapes. Fish appear as different shadow sizes, while dense groups indicate a school; dark circular patches in the water are dive spots rather than standard casts. The current GameSpot fishing guide also notes that upgraded rods improve your casting range, so a better rod is useful when the fish you need is just out of reach.
Pick the water before you pick the rod
The most efficient fishing route starts with the Museum entry or quest requirement you want to complete. Check the water type first:
| Target | Best first check |
|---|---|
| River fish | River areas and their current season/weather conditions |
| Pond fish | Ponds, especially when the target is listed for a specific season |
| Ocean fish | The beach and other ocean water; diving can reveal separate catches |
| Mine fish | The relevant mine region, where the water tables change by floor or biome |
| Bait-only fish | A Fish Trap or a cast using the matching Fish Bait |
Do not treat every large shadow as the same catch: size narrows the search, but location, season, and weather still matter. Use the full GameSpot table for a specific Museum fish; otherwise choose one location and seasonal target, then leave when the target is no longer worth the stamina.
Use the calendar and weather to plan a fishing day
Seasonal fish are the main reason to avoid putting Museum work off indefinitely. Keep a short list of catches that are available only in the current season, then check the forecast before committing to a route. Rain, snow, wind, storms, and blizzards can change the eligible pool for some fish.
The Crystal Ball is especially useful for this kind of planning. GameSpot’s Fields of Mistria 1.0 guide to hidden features explains that it can show the next day’s weather after you obtain it through Juniper’s quest. That gives you a reason to keep a fishing list ready: a forecast can turn tomorrow into the best day for a catch that is otherwise easy to miss.
When a fish spans multiple seasons, prioritize one-season catches first, then use flexible catches for requests, cooking, or gifts.
Bait, Fish Traps, and diving
Fish Bait becomes available through the Terrarium progression. Its quality depends on the rarity of the bugs used in the Terrarium, ranging from Common through Rare. You can throw bait into the water to attract fish, or place it in a Fish Trap and leave the trap overnight.
Bait is not only a convenience. Some fish in the 1.0 table require bait and do not appear through ordinary fishing. If the Museum entry refuses to appear after repeated casts in the correct place and season, check whether it belongs to a bait-only group before assuming the save or route is broken.
Fish Traps are useful for passive progress while farming, mining, or completing town tasks. They are less useful for a specific seasonal catch. Treat dark dive spots as a separate collection route, not as another casting location. For Museum completion, alternate between rod fishing and diving instead of repeating one activity all day.
Which Fishing Perks help most?
Perks should follow your goal rather than a single universal build.
- Appealing Reeling I and II increase the distance from which fish are attracted to your bobber, making awkward casts more forgiving.
- Catch of the Day can refund the stamina used by a catch, which is helpful during long Museum routes.
- Perfect Catch makes Uncommon and Rare fish more common, so it is a strong choice once basic catches are no longer the problem.
- Lucky Haul I and II can add extra copies of a catch, which is useful for money, cooking, or gifts after the Museum entry is secured.
- Legendary unlocks Legendary Fish when the right season and weather conditions are active.
The important distinction is timing. A perk can improve your odds or reduce the cost of a fishing day, but it cannot replace the required location or weather. Unlock the Legendary perk before planning a Legendary route, then wait for the in-game announcement instead of searching every body of water.
Legendary Fish locations and weather
Once the Legendary perk is unlocked, the morning announcement can tell you that a Legendary Fish is nearby and show its silhouette. The four targets are tied to a specific season, water type, and weather condition:
| Fish | Season | Location | Weather |
|---|---|---|---|
| Cherry Fish | Spring | Pond | Windy |
| Lightning Fish | Summer | River | Stormy |
| Leaf Fish | Fall | River | Windy |
| Snow Fish | Winter | Ocean | Blizzard |
These fish can only be caught once, so donating them to the Museum is the sensible first choice. The table and conditions are documented in GameSpot’s current complete fishing guide. If the announcement does not appear, do not burn stamina searching: check the perk, season, weather, and location in that order.
A simple fishing routine for each season
- Check the Museum and write down one deadline fish plus one flexible backup.
- Review tomorrow’s weather with the Crystal Ball when weather matters.
- Travel to the correct water type and cast toward visible shadows.
- Reel in only after the ! prompt appears.
- Use bait or a Fish Trap if the target is listed as bait-dependent.
- Switch to diving when you find a dive spot instead of treating it like a normal fish shadow.
- Stop when the target is caught, the weather window closes, or the remaining casts no longer serve your Museum, money, or cooking plan.
Fishing in Fields of Mistria rewards preparation more than frantic casting. Once you match the Museum target to its location, season, weather, and catch method, the rod becomes a reliable part of your daily route instead of a slot machine beside the water. For the wider version 1.0 context, the developer’s Official site confirms that fishing is one of the core activities alongside farming, mining, and crafting; the practical gains come from turning that broad system into a short, repeatable plan.
If you are choosing what to play around shorter sessions, GoldCrit’s three-game Steam backlog shortlist uses the same low-friction principle: pick a clear next activity instead of letting a large library make the decision for you.